Preserving Orchids: Capture Your Blooms Beauty To Enjoy For Years
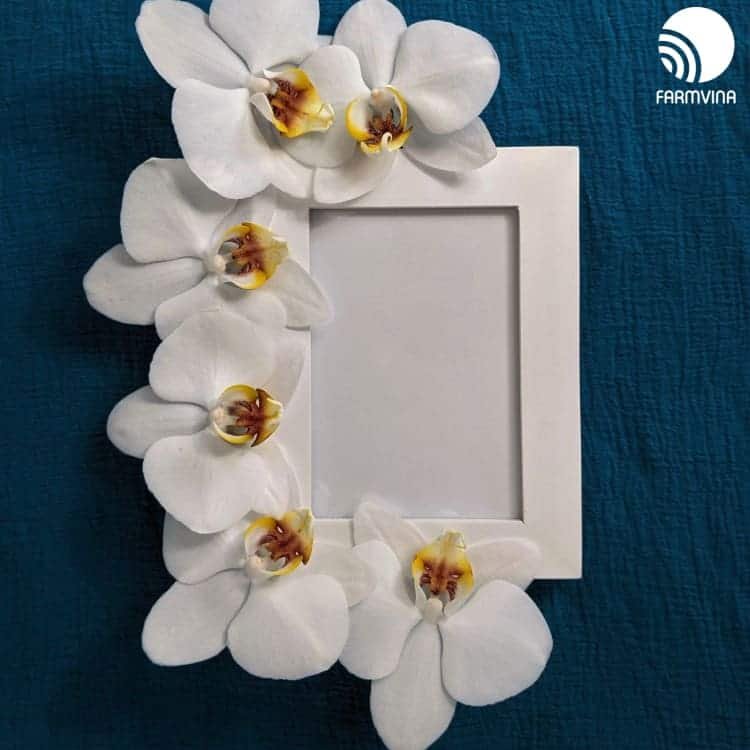
It’s always sad to see your beautiful orchid blooms begin to wilt and fall off. Have you ever thought of pressing or drying your orchids flowers in order to preserve their beauty? Whether you prefer the look of a pressed flower or if you’d rather preserve the natural 3-D quality of the bloom, you can choose one of two methods.
The first method is to press the flowers, and the second method is to dry the flowers without pressing them. Both methods are easy to do and the method you choose depends on how you would like to display your orchid.
These simple steps below will allow you to save your beautiful orchid blooms so that you can admire them for many years to come.
Method 1: Pressing Orchids
Pressing orchid blooms doesn’t require any special tools or equipment, although you can buy a flower press or even make your own if you would like. If you would like to go the more frugal route, you can achieve the same effect with just a couple household items: newspaper and a couple of heavy books.
The first step is to select the orchid bloom that you’d like to press and snip it off of the spike using a sterile cutting tool. For the best results, you will want to use blooms that are at their peak because blooms that have already begun to fade won’t look quite as attractive when dried.
Once you’ve chosen and removed your flower, the next step is to take two sheets of newspaper and lay them flat on a table and place the bloom on the newspaper and carefully set two more sheets of newspaper on top of the bloom.
Next, open up your heavy book and place your newspaper between its pages.
If you’re pressing more than one bloom, flip the pages so that there’s at least 1/8 of an inch of thickness and place the next bloom in between the pages. (Don’t press more than one bloom on the same page of the book.)
Close the book and set another heavy book or item on top of it. Check back on the bloom in at least two weeks. This process is meant not just to press the flower but also to dry it out.
If you find that the bloom isn’t completely dried out yet, replace the original newspaper sheets with fresh ones, close the book up, and let it sit for another couple of weeks. When the orchid has dried out, you can now proudly display your pressed orchid bloom.
Method 2: Drying Orchids
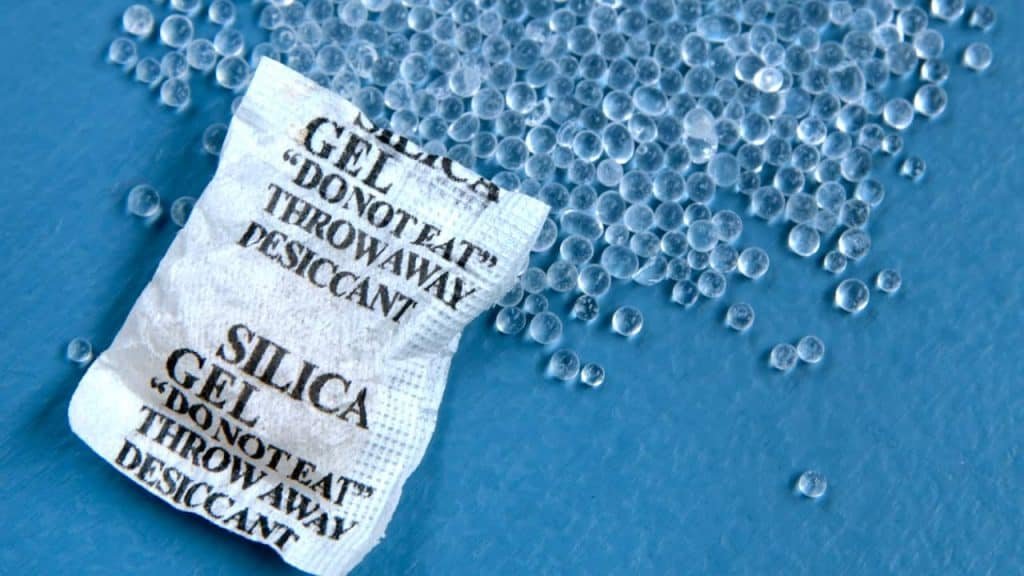
Drying orchid blooms allows you to maintain the 3D quality of your orchid’s blooms which can be displayed in a shadow box. Drying orchids yourself requires floral silica gel, which can be found at many craft and art supply stores.
Silica gel is not actually a gel; it’s more of a granular or beaded substance that absorbs moisture from its surrounding environment. Other items you will need besides the gel is an airtight container and a small paintbrush.
Again, the first step is to select the orchid bloom that you’d like to dry and snip it off of the spike (leave a little bit of stem poking out from the back of the bloom) using a sterile cutting tool. Remember to choose a bloom that is at its peak in order to ensure you are going to get a beautiful dried flower.
Next, you will need to pour a layer of silica gel over the bottom of your airtight container. Depending on how large your bloom is you’ll want to pour in about one to two inches’ worth of gel and then place the bloom into the gel, stem-side down.
Carefully pour enough silica gel into the container to completely cover the bloom. If you’re drying more than one bloom, situate them inside the container so that they are not touching each other and make sure each is 100% covered with the gel.
Next, seal the container shut making sure to prevent any air from getting inside. You will then need to leave the container for at least 7-10 days.
The larger the flower or the more flowers you have inside the container, the longer you should let them sit. Do not open the container to check on the progress because doing so will allow moisture into the container and disrupt the drying process.
Once the flower is completely dried (should feel papery) carefully remove it from the gel. Use the soft paintbrush to gently dust the excess silica gel off of the flower. Your orchid is now ready to be displayed!
Do remember that many orchid blooms are quite delicate, so the appropriate amount of gentle handling will be needed.
Originally posted 2021-04-17 11:00:29.


