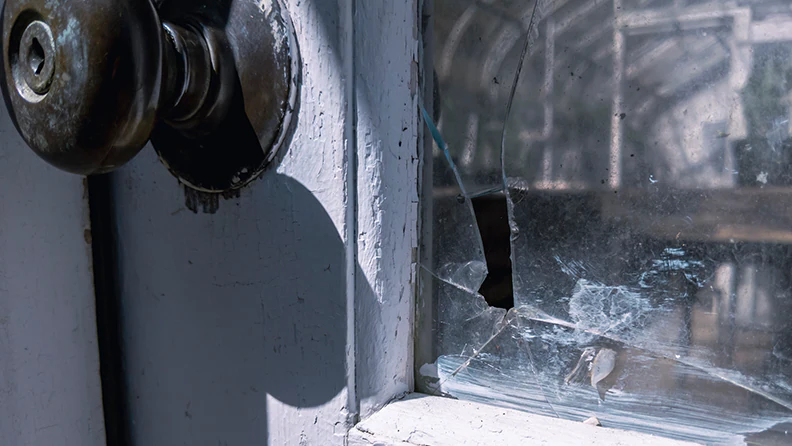
Homesteading often requires a variety of skills, and learning to cut and glaze glass is one of them. Whether you’re crafting windows for a greenhouse, building cold frames, or simply repairing a broken glass pane, mastering the art of cutting and glazing glass is a valuable skill for any homesteader.
This guide will walk you through the process in a friendly yet professional manner, ensuring you can tackle glass-related projects with confidence.
Getting Started
Tools and Materials You’ll Need:
- Glass Cutter: A tool specifically designed to score and cut glass.
- Straight Edge or Ruler: Provides a straight line to guide your glass cutter.
- Lubricant (Cutting Oil): Helps in creating a smooth score line while cutting.
- Safety Glasses and Gloves: Essential for protecting your eyes and hands from potential accidents.
- Glass Panes: Choose appropriate glass according to your project requirements.
- Glazing Compound or Putty: Used to secure the glass in its frame.
Step-by-Step Instructions
1. Preparing the Work Area
a. Clear a clean, flat workspace and ensure good lighting. b. Lay down a protective surface to prevent scratches on the glass.
2. Measuring and Marking
a. Measure and mark the glass according to the required dimensions using a straight edge or ruler. b. Double-check your measurements to avoid errors.
3. Lubricating the Glass Cutter
Apply cutting oil to the wheel or head of the glass cutter to ensure a smooth and precise cut.
4. Scoring the Glass
a. Hold the glass cutter firmly and align it with the marked line. b. Apply even pressure while running the cutter along the line once, creating a visible score.
5. Breaking the Glass
a. Place the scored line over the edge of a sturdy surface (like a table) with the score facing upwards. b. Apply gentle pressure on either side of the score, causing the glass to break along the line.
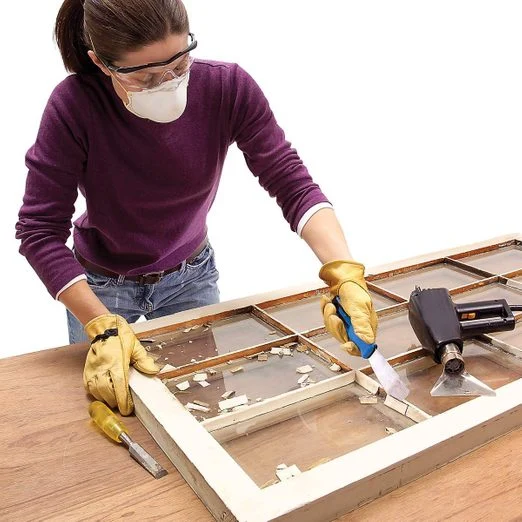
6. Smoothing the Edges
Use a sharpening stone or fine sandpaper to smooth the cut edges and remove any sharpness.
7. Glazing the Glass
a. Apply a thin, even layer of glazing compound or putty to the frame. b. Carefully press the cut glass into the putty, ensuring a snug fit.
8. Securing the Glass
a. Apply additional glazing compound to the outside edges to secure the glass and create a weatherproof seal. b. Smooth the putty with a putty knife for a clean finish.
FAQs
Q1: Can I cut glass without a glass cutter?
A1: While possible, using a glass cutter is the most efficient and effective method for cutting glass. Other methods often lead to rough edges and potential safety hazards.
Q2: What types of glass can I cut?
A2: Generally, you can cut common glass types like float glass, stained glass, and tempered glass. However, tempered glass is challenging to cut and should be done by a professional.
Q3: How do I prevent the glass from cracking while cutting?
A3: Use a glass cutter and ensure the glass is clean, properly lubricated, and not exposed to extreme temperature differences during the cutting process.
By following these steps and tips, you’ll be well on your way to mastering the art of cutting and glazing glass for various homesteading projects. Happy crafting!
Originally posted 2023-09-19 17:32:41.

